A Complete Guide to Laboratory Hazard Signs

Think of laboratory hazard signs as the universal language of safety. They're designed to instantly communicate critical information to anyone walking into a room, preventing accidents before they even have a chance to happen. These symbols are far more than just warnings; they are your team's first and most essential line of defense against the unseen dangers in any lab, whether it's located in Atlanta, GA, or anywhere else nationwide.
Why Laboratory Hazard Signs Are Your First Line of Defense
Imagine trying to navigate a busy city with no traffic lights, stop signs, or speed limits. It would be absolute chaos. Laboratory hazard signs serve the exact same purpose—they're the traffic signals of the lab, guiding safe behavior and preventing catastrophic incidents. Just as a stop sign prevents a collision at an intersection, a GHS pictogram can prevent a chemical burn or toxic exposure in labs across the USA.
Getting fluent in this visual language is a fundamental requirement for protecting your people, staying compliant, and managing risk. This isn't just for day-to-day work; it's also crucial for high-stakes procedures like a full facility shutdown.
The Foundation of a Safe Laboratory Culture
Proper signage is the cornerstone of a proactive safety culture. It acts as a constant, silent reminder of the potential dangers tied to a specific area or substance. This visual system empowers everyone, from a seasoned researcher to a brand-new technician, to make informed decisions that protect themselves and their colleagues.
A well-implemented signage system does more than just check a compliance box. It builds a shared sense of responsibility and awareness. When everyone understands the symbols, everyone contributes to a safer lab.
This system is built on globally recognized standards. For chemical safety, the most important one is the Globally Harmonized System of Classification and Labelling of Chemicals (GHS). Adopted by OSHA, the GHS provides a consistent set of pictograms to identify hazards, ensuring that a symbol for "flammable" means the same thing in a lab in Atlanta as it does anywhere else.
But recognition doesn't always equal understanding. Recent data showed that while 98% of lab technicians knew hazard labels were necessary, only about 55% could accurately interpret all nine GHS pictograms. That's a huge gap in training and a serious risk for facilities nationwide.
To help bridge that gap, here is a quick overview of the most common hazard categories you'll encounter.
Quick Guide to Common Laboratory Hazard Categories
This table breaks down the primary hazard categories found in a lab setting and the types of signs you'll see for each.
| Hazard Category | Primary Risk | Common Symbol Examples | Where You'll Find It |
|---|---|---|---|
| Biological | Exposure to infectious agents like bacteria, viruses, or contaminated materials. | The universal biohazard symbol (trefoil). | Bio-safety cabinets, incubators, waste containers, lab entrance doors. |
| Chemical | Health risks like toxicity, corrosion, or irritation from chemical substances. | GHS pictograms (skull & crossbones, corrosion, exclamation mark). | Chemical storage cabinets, fume hoods, individual containers. |
| Flammable | Fire or explosion from flammable liquids, gases, or solids. | GHS flame pictogram, NFPA diamond (red section). | Solvent storage areas, gas cylinders, chemical waste containers. |
| Radioactive | Exposure to ionizing radiation from unstable atoms. | The universal radiation symbol (trefoil on a yellow background). | Hot labs, areas with X-ray equipment, radioactive material storage. |
| Electrical | Shock or electrocution from high-voltage equipment. | Lightning bolt symbol, high voltage warnings. | Power supplies, electrophoresis units, large analytical instruments. |
| PPE | Reminders for required personal protective equipment. | Symbols for safety glasses, gloves, lab coats, respirators. | Lab entrance doors, specific work areas, instrument SOPs. |
Think of this as a starting point. Every sign tells a story about the potential risks inside, and knowing how to read them is a non-negotiable skill for everyone on your team.
Beyond Daily Operations to End-of-Life Management
The importance of these signs extends all the way through the lifecycle of your lab's equipment and materials.
When it’s time for a decommissioning or facility cleanout, those same hazard signs give crucial information to disposal teams. A biohazard sticker on an old incubator or a corrosive symbol on a chemical cabinet immediately alerts specialists to residual dangers, ensuring they handle and dispose of the item safely. This is a critical step in a responsible asset management plan, especially when arranging for professional scientific equipment disposal services that deal with potentially hazardous materials.
From the first day a lab opens to the final equipment removal, these simple signs are indispensable tools for safety and compliance.
The Nine GHS Hazard Pictograms Every Lab Professional Must Know
Think of lab safety signs less as abstract symbols and more as your first line of defense. The Globally Harmonized System (GHS) gives us a visual language for safety with nine essential pictograms. These symbols are the bedrock of modern chemical safety, designed to be instantly recognized and understood everywhere.
They're not just warnings; they're quick, visual instructions on how to handle a substance safely. As a core part of OSHA's Hazard Communication Standard, these pictograms ensure that safety info is consistent whether your lab is in Atlanta or anywhere else in the country. That consistency is key—it helps personnel react correctly and instinctively when facing a potential danger.
This simple graphic shows how safety signs work, drawing a line from a common road sign to a specific lab sign. Both exist for the same reason: to keep you safe.
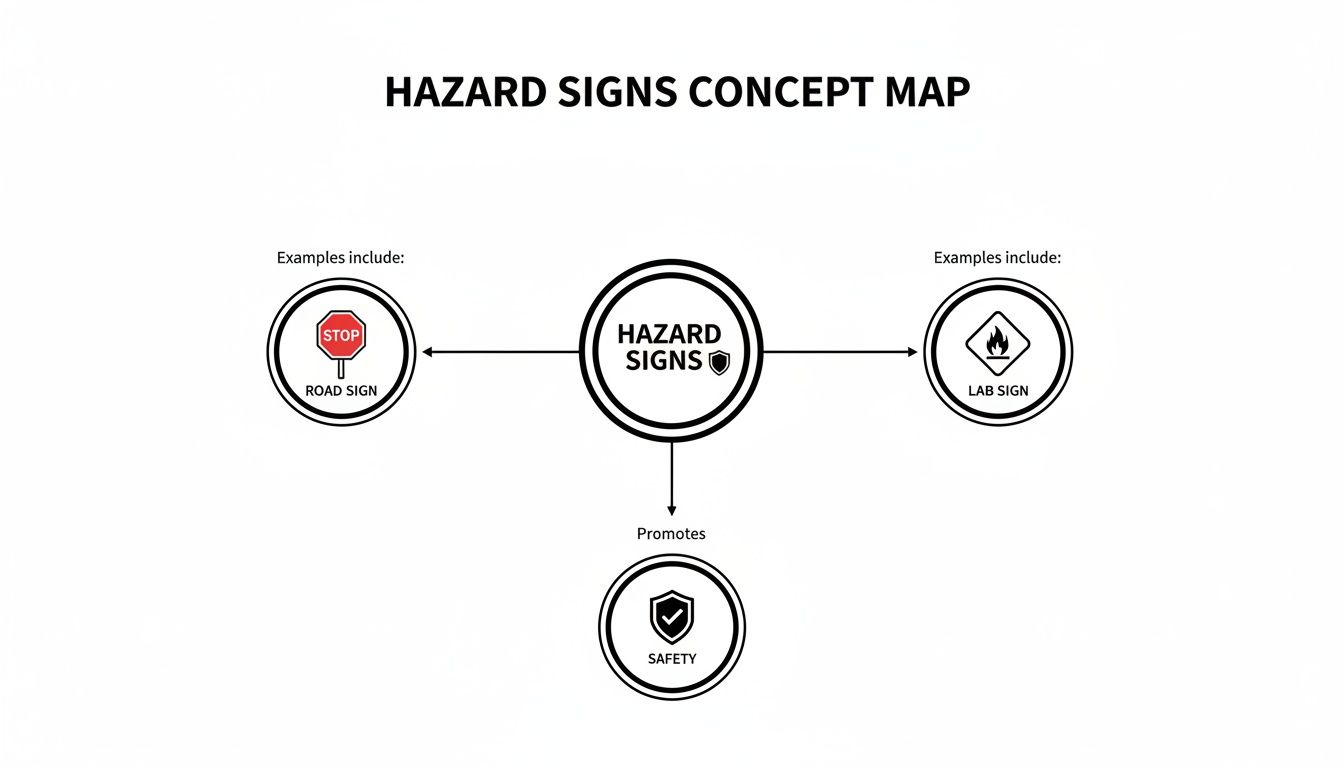
Just like a stop sign, GHS pictograms provide immediate, non-verbal instructions to prevent harm before it happens.
Decoding Health-Related Dangers
Three of the pictograms deal specifically with threats to human health. Knowing the subtle differences between them is crucial for protecting yourself and your team.
-
Health Hazard: This symbol, showing a person with a starburst on their chest, flags long-term or chronic health effects. It tells you a substance could be a carcinogen (cancer-causing), a mutagen (causes genetic defects), or a reproductive toxin. You'll see this on chemicals like formaldehyde or benzene.
-
Exclamation Mark: Think of this as a general alert for less severe but still significant hazards. It warns that a substance can cause skin or eye irritation, act as a skin sensitizer, or have narcotic effects. It’s often found on cleaning solutions or certain solvents used daily in the lab.
-
Skull and Crossbones: This one is universally understood for a reason: it means acute toxicity. Even a small amount of a substance with this label can cause serious harm or death. It’s reserved for highly toxic chemicals like sodium cyanide or methanol.
Proper handling and disposal of chemicals marked with these health-related symbols are critical. Mismanagement can lead to severe health consequences for staff and environmental contamination.
Identifying Physical and Environmental Hazards
The other GHS pictograms alert you to physical dangers like fire, explosions, and corrosion, as well as harm to the environment. Understanding these symbols helps prevent property damage, injuries, and ecological disasters.
-
Flame: Simple and direct, this symbol means a substance is flammable and can easily ignite. You'll see it on containers of common solvents like ethanol and acetone.
-
Flame Over Circle: This one is a bit different—it signifies an oxidizer. These substances, like potassium permanganate, can cause or intensify a fire by providing oxygen. They essentially make other materials burn hotter and faster.
-
Exploding Bomb: This pictogram is a serious warning about an explosive or self-reactive substance. It’s found on unstable chemicals that could explode if exposed to heat, shock, or friction.
-
Gas Cylinder: This symbol is straightforward, indicating a container holds gas under pressure. The main hazard here is the potential for the cylinder to rupture or become a projectile if it's damaged or heated.
-
Corrosion: Showing a chemical eating away at a material and a hand, this sign means a substance can cause severe skin burns, eye damage, or is corrosive to metals. Strong acids like hydrochloric acid and bases like sodium hydroxide always carry this warning.
-
Environment (Non-Mandatory): While OSHA doesn't require this symbol, it's widely used internationally for a good reason. The dead tree and fish indicate the chemical is toxic to aquatic life and can cause long-term environmental damage.
For more information on managing hazardous materials and waste, check out the various safety guides and resources for scientific equipment disposal available.
Meeting OSHA and ANSI Regulatory Standards
Trying to navigate the web of lab safety regulations can feel like a chore, but remember—every single rule is there to protect your team. Think of these standards less like bureaucratic red tape and more like a proven system for keeping people safe, ensuring that hazard warnings are consistent, clear, and actually work.
The two big players setting the rules are the Occupational Safety and Health Administration (OSHA) and the American National Standards Institute (ANSI).
OSHA’s Hazard Communication Standard (HCS) is the main federal law you need to know. It requires chemical manufacturers to assess the hazards of their products and forces employers to share that information with their workers. This is exactly where the GHS pictograms, signal words, and hazard statements on labels come from—they’re legal requirements, not friendly suggestions.
The Anatomy of a Compliant Label
Under the HCS, every hazardous chemical container label must have specific components. These pieces work together to give anyone handling the material a quick, complete safety snapshot at a glance.
A compliant label must have:
- Product Identifier: The name or number used for the chemical on the label and in the Safety Data Sheet (SDS).
- Signal Word: You’ll see either "Danger" for the most severe hazards or "Warning" for less severe ones.
- Hazard Statements: These are standardized phrases describing the specific danger, like "Causes severe skin burns and eye damage."
- Precautionary Statements: These are the instructions for staying safe, such as "Wear protective gloves."
- Supplier Identification: The name, address, and phone number of the company that made or imported the chemical.
- Pictograms: The instantly recognizable GHS symbols that give you a visual cue of the hazard.
This framework creates a uniform system that’s understood everywhere, from a university lab in Atlanta to a research facility on the West Coast.
From Federal Rules to Local Inspections
While OSHA writes the federal laws, ANSI provides voluntary guidelines that have become industry best practices for the design, color, and placement of safety signs. When you follow ANSI standards for laboratory hazard signs, you’re making sure your signage is easy to read and positioned where it’ll be seen—which is precisely what inspectors look for during an audit.
The link between your signs, labels, and paperwork is critical. A huge part of compliance is ensuring your Safety Data Sheets (SDS) are easy for employees to find and that the information on them perfectly matches what’s on the container labels.
A messy SDS binder or mismatched labels are immediate red flags for an inspector. These issues can lead to big fines, but more importantly, they create dangerous gaps where a team member doesn’t have the right information in an emergency.
The data shows exactly why these standards are so critical. Chemical exposure is a top cause of lab accidents, with one study showing it was responsible for 73.7% of reported incidents. In that same study, 45% of workers reported experiencing an accident, highlighting just how vital clear hazard signs are. You can dive deeper into the data on laboratory accident mitigation from this comprehensive study. It’s a stark reminder of why we need strict safety protocols.
Mastering Hazard Sign Placement and Maintenance
Knowing what laboratory hazard signs mean is only half the battle. If a sign is hidden behind a piece of equipment, mounted too high, or is too faded to read, it’s not just ineffective—it's a serious safety failure. Proper sign placement and diligent maintenance are what turn a compliant signage system into a truly protective one.
Think of it this way: a fire extinguisher is useless if it's locked in a closet during an emergency. In the same way, a hazard sign has to be immediately visible right at the point where a decision is made. It's there to guide safe actions before someone enters a restricted area or handles a dangerous substance. This means placing signs at eye level, making sure they’re well-lit, and keeping them completely free from obstructions.

Key Locations for Maximum Impact
Strategic placement ensures that critical safety information is simply impossible to miss. Certain areas in any lab, whether in a hospital in Atlanta or a university research center elsewhere in the country, demand specific and prominent signage.
Here are the non-negotiable spots for your hazard signs:
- Laboratory Entrances: Doors need to display a clear summary of all major hazards inside, covering chemical, biological, and radiological risks. This sign must also list required PPE and provide emergency contact information.
- Chemical Storage Areas: Every cabinet, refrigerator, or designated shelf area has to be clearly labeled with the primary hazard class of the chemicals inside (e.g., Flammable, Corrosive, Oxidizer).
- Specific Equipment: Fume hoods, biosafety cabinets, and autoclaves all need signs that indicate their operational status and any specific dangers associated with their use.
- Waste Disposal Stations: Containers for chemical, biological, or sharp waste require unmistakable, color-coded labels that prevent dangerous mix-ups.
To make this practical, here is a quick checklist you can adapt for your own facility walkthroughs.
Hazard Signage Placement Checklist
This table provides a simple framework for auditing your lab's signage to ensure every critical location is covered and signs are properly placed for maximum effectiveness.
| Location | Required Signage | Key Placement Tip | Compliance Check |
|---|---|---|---|
| Lab Entrance Doors | Summary of hazards, PPE, emergency contacts | At eye level, unobstructed by the door swing. | ☐ |
| Chemical Cabinets | Primary hazard class (Flammable, etc.) | On the exterior of the door, clearly visible. | ☐ |
| Refrigerators/Freezers | Biohazard, Chemical, or "Not for Food" signs | Should be immediately obvious to anyone opening it. | ☐ |
| Fume Hoods/BSCs | Operational status, specific hazard warnings | Placed on the sash or frame without blocking view. | ☐ |
| Waste Containers | Biohazard, Sharps, Chemical Waste labels | Color-coded and visible from all approach angles. | ☐ |
| Gas Cylinders | Contents and hazard class (e.g., Flammable Gas) | On the shoulder of the cylinder, not easily removed. | ☐ |
This isn't just about ticking boxes; it's about building layers of safety that protect your team at every turn.
The Overlooked Importance of Sign Maintenance
A brand-new sign is only effective for so long. Over time, exposure to chemicals, UV light, and general wear-and-tear can cause signs to fade, crack, or become completely unreadable. A worn-out sign can easily lead to a dangerous misunderstanding.
Imagine a near-miss scenario: a technician needs to clean a spill and reaches for what they think is a mild cleaning agent. The chemical’s hazard label, however, has faded so badly that the "Corrosive" pictogram is gone. This seemingly small oversight could have easily resulted in a severe chemical burn.
A faded or damaged laboratory hazard sign is worse than no sign at all because it creates a false sense of security. Regular inspections are not just a best practice; they are a critical safety function.
Your Chemical Hygiene Plan should absolutely include a schedule for signage audits. This involves walking through the facility—maybe quarterly or annually—to check every single sign for visibility, legibility, and accuracy. Any sign that is damaged or outdated must be replaced immediately. This proactive maintenance is what keeps your first line of defense strong.
As lab processes evolve, so do your signage needs. When new equipment is brought in or old assets are decommissioned, your signs must reflect these changes. Maintaining an accurate inventory and updating signage is a core part of managing the lab’s lifecycle, right up to the final disposal phase. For more details on the logistics of decommissioning, you can learn about how the scientific equipment disposal process works from start to finish.
Understanding Specialized Signs Beyond Chemical Hazards
While GHS pictograms are fantastic for spelling out chemical dangers, a truly safe lab has to account for the whole picture. Beyond what might happen in a chemical reaction, labs are often home to biological, radiological, and high-energy physical hazards. Getting familiar with the specialized laboratory hazard signs for these threats is a non-negotiable part of comprehensive safety.
Think of these symbols as urgent, non-verbal warnings for dangers that demand a completely different response than a chemical spill. They are absolutely critical for preventing accidental exposure and making sure people have the right protective gear on before they even step into a hazardous area.
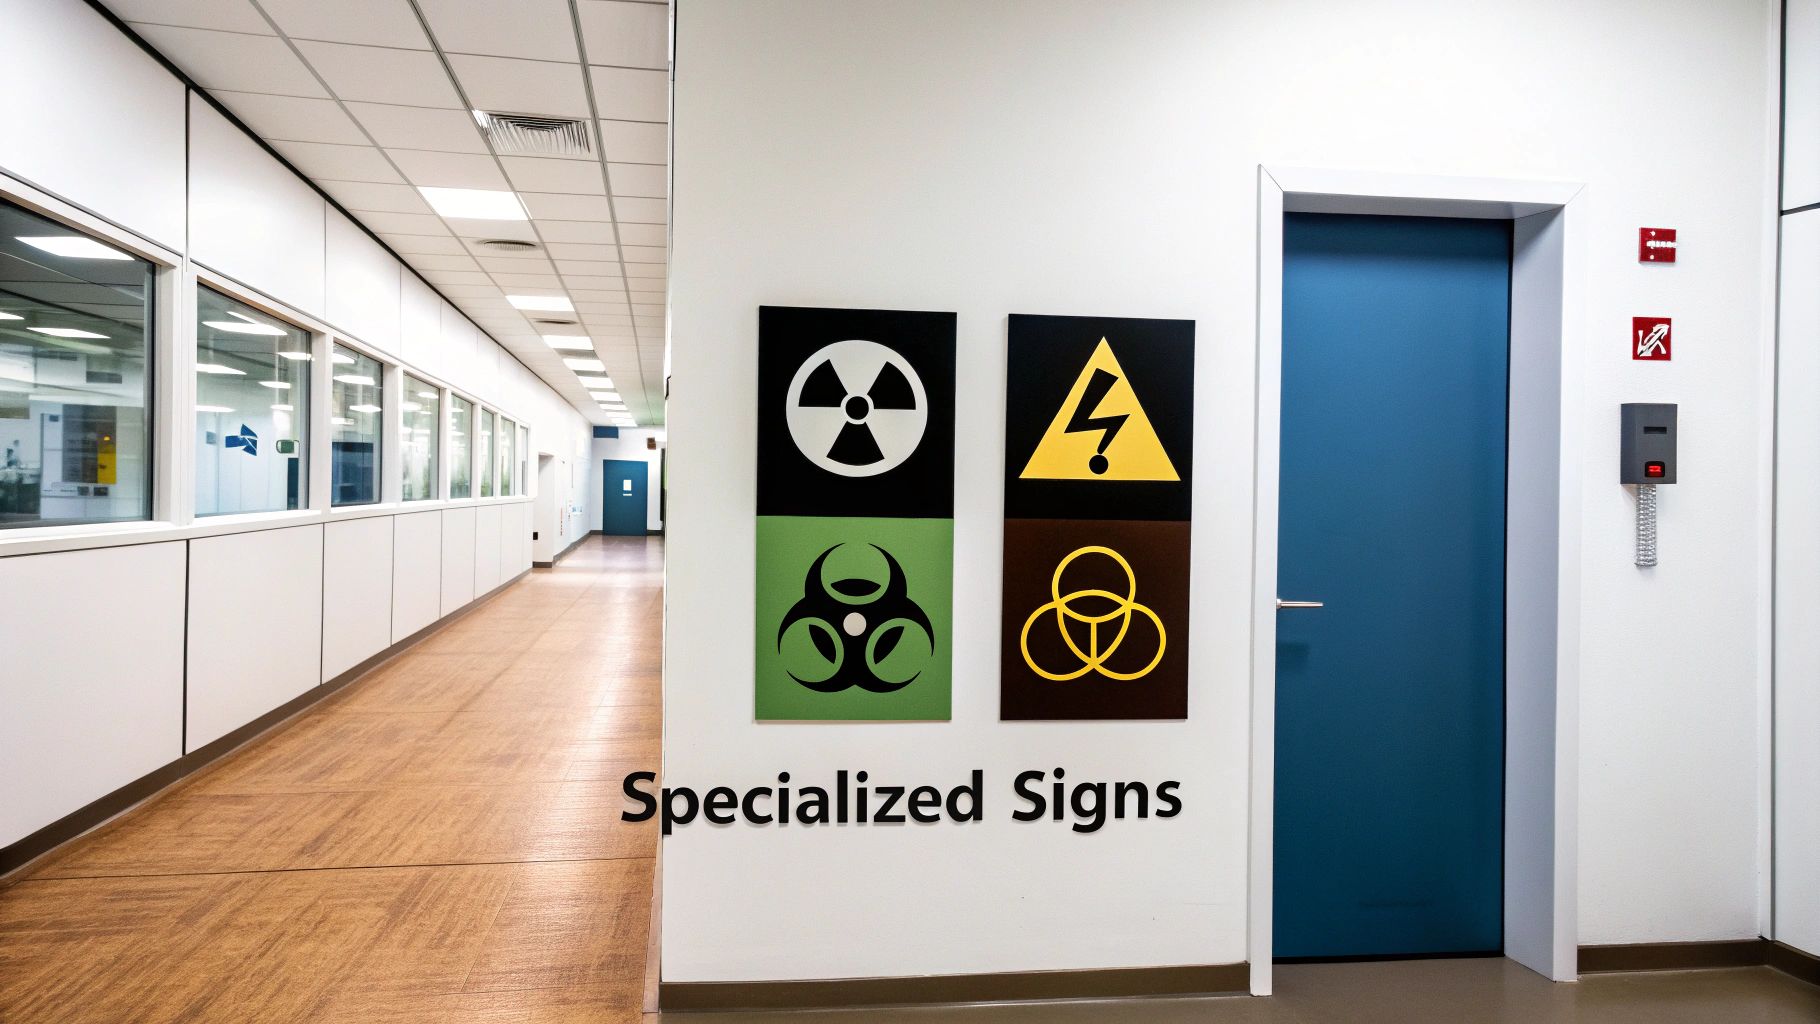
Decoding Biological and Radiological Symbols
Two of the most important specialized symbols you’ll run into are for biohazards and radiation. Both signal invisible but powerful dangers.
- The Biohazard Symbol: That unmistakable three-sided symbol is a clear warning that infectious agents are present—think bacteria, viruses, or biologically contaminated materials. You'll see it plastered on incubators, waste containers, refrigerators holding samples, and at the entrance to any BSL-2 or higher lab. Ignoring it can have devastating consequences.
- The Radiation Trefoil: Typically a black symbol on a yellow background, this one means ionizing radiation is present. It’s used in areas with X-ray equipment, radioactive isotopes, or particle accelerators. This sign demands strict adherence to safety protocols, like limiting your exposure time and using specialized shielding.
It's not just theoretical. A global review of lab accidents between 2000 and 2021 found hundreds of biocontainment breaches. Many were traced back to simple human error, where someone overlooked a biohazard sign and handled materials improperly. You can dive deeper into these findings in the full analysis of laboratory biocontainment breaches.
Physical Hazards and PPE Mandates
Physical hazards, like a jolt of electricity, and procedural rules, like wearing the right PPE, also have their own straightforward visual language to keep everyone safe.
A high-voltage warning on a piece of equipment isn’t a suggestion; it’s a direct order to prevent electrocution. In the same way, a sign mandating safety glasses is an enforceable rule designed to stop an irreversible eye injury before it happens.
These signs include:
- High Voltage Warning: Usually a lightning bolt symbol, this sign is found on power supplies, electrophoresis units, and other gear with dangerous electrical currents.
- Mandatory PPE Signs: These use simple icons to show exactly what personal protective equipment—like gloves, lab coats, or safety glasses—is required before you can enter a specific area. They effectively create safety zones with clear, easy-to-follow rules.
Even equipment that seems harmless can pose a risk down the line. As technology moves forward, labs also have to manage the electronic waste they generate, which can contain its own hazardous materials. A complete safety plan includes knowing the rules for asset disposal. For facilities in Georgia, for example, specific guidelines apply, which we cover in our guide on computer recycling in Atlanta GA.
Using Signage During Lab Decommissioning and Disposal
What happens to all those laboratory hazard signs when a lab shuts down for good or a piece of equipment hits retirement? This final chapter, called decommissioning, is one of the most critical phases for safety, and clear signage is more important than ever. It's the absolute last line of defense, making sure any leftover hazards are clearly communicated to everyone involved in the shutdown—from your own team to the specialized disposal crews.
Just think about the signs you see every day on a biosafety cabinet or a chemical fume hood. They aren’t just for day-to-day operations; they're a living history of that equipment's use. A simple biohazard symbol is an instant heads-up to a disposal expert that the unit might still have residual biological material, even after a basic cleaning. That single piece of information is vital for them to handle, move, and ultimately dispose of the item safely.
Labeling for Safe and Compliant Removal
During a full lab cleanout, you can't just leave the old signs on and call it a day. You need a clear, specific procedure for labeling every single piece of equipment slated for removal. This process is the bridge between what your lab staff knows and what the disposal team needs to know to stay safe.
This final labeling step has one job: to spell out the decontamination status of each item. There can be no gray areas or guesswork for the people tasked with hauling out and recycling your assets.
- Decontaminated and Cleared: Any equipment that has been scrubbed clean and certified free of all hazards needs a green "Cleared for Removal" tag (or something similar). This is an immediate green light for the crew.
- Contains Residual Hazards: If you can't get an item 100% decontaminated, it needs a red or orange tag that specifies exactly what risk remains (e.g., "Residual Chemical Hazard" or "Contains Biological Material"). This tells the team to gear up with the right PPE and follow specific handling protocols.
This level of communication isn't optional—it's a non-negotiable part of a safe and compliant shutdown. It protects your people, the disposal crew, and the environment from any accidental exposure.
A Commitment to Lifecycle Safety
Proper labeling during decommissioning shows a real commitment to safety that lasts the entire lifecycle of your lab's operations. For facilities here in Atlanta and across the country, getting this process right is fundamental to both regulatory compliance and being a good environmental steward.
Failing to properly label equipment for disposal creates a dangerous information gap. A disposal team might unknowingly handle a contaminated piece of equipment, leading to potential exposure and serious liability for your organization. Clear final-stage signage is the final, critical handoff in your safety protocol.
This organized approach keeps the entire process smooth and secure from start to finish. When you're planning your next lab cleanout, knowing how to dispose of old lab equipment the right way protects everyone involved and ensures your facility meets its end-of-life duties. Your diligence with laboratory hazard signs, from the very first day to the last, builds a culture of safety that leaves absolutely no room for error.
Frequently Asked Questions About Laboratory Hazard Signs
Even with the best safety protocols in place, a few common questions always seem to pop up. We hear them from lab managers and safety officers all the time, so let's clear up some key points about laboratory hazard signs.
What Is the Difference Between a GHS Pictogram and an NFPA Diamond?
It helps to think of them as two different tools for two very different audiences. GHS pictograms are what your team sees every single day. They’re right there on the chemical containers, spelling out the specific hazards for people handling them during routine work. It's the language of daily, hands-on safety.
The NFPA 704 diamond, on the other hand, is built for emergencies. You’ll see it on doors or large storage tanks. Its job is to give firefighters and other first responders an immediate, at-a-glance summary of a substance's health, flammability, and instability risks during a fire or a major spill. GHS is for the lab worker; NFPA is for the emergency crew racing to the scene.
How Often Should We Review and Update Our Lab Hazard Signs?
At a minimum, you should do a full audit of all your laboratory hazard signs once a year. Make it part of your annual safety review. This is your chance to make sure everything is still legible, accurate, and in good physical condition. But you can't always wait a full year.
Signage must be updated immediately whenever a new hazard is introduced, a process is changed, or a chemical is removed from use. Proactive updates are a critical component of a living, effective safety plan.
For instance, if a new corrosive chemical is delivered to your lab, the signs for its storage and use areas need to be up before anyone handles it for the first time. The same logic applies during decommissioning—signs have to be updated constantly to show the real-time decontamination status of the equipment and the space itself.
Can We Create Our Own Hazard Signs or Must They Be Purchased?
This is a critical point that trips people up. You must never alter, cover, or remove the manufacturer’s GHS-compliant label on a primary chemical container. That's a legal requirement, and that label has life-saving information on it.
Now, for secondary containers (like a beaker you've poured a chemical into) or for general area warnings (like a "Flammables Cabinet" sign), you can create your own. But that doesn't mean it's a free-for-all. Any sign you make must meet all OSHA requirements, which means using the correct GHS pictograms, signal words, and hazard statements.
Frankly, because the rules are so strict, using professionally printed, standardized signs is almost always the smarter and safer bet. It’s the best way to ensure your signs are fully compliant, easy to read, and durable enough to last in a tough lab environment.
From daily operations to the final decommissioning of a facility, navigating the complexities of lab safety requires a partner you can trust. For labs in Atlanta and across the country, Scientific Equipment Disposal provides compliant, sustainable solutions for disposing of lab equipment and electronics. Make sure every phase of your lab's lifecycle is handled safely and responsibly. Visit https://www.scientificequipmentdisposal.com to learn more.