How to Dispose of Scientific Equipment Safely: A Guide for Labs Nationwide

Getting rid of an old centrifuge or clearing out a whole lab’s worth of equipment isn't anything like a standard office cleanout. The process is a minefield of environmental regulations, data security risks, and hazardous material liabilities. If you're a lab manager or IT director, learning how to dispose of scientific equipment safely isn’t just good practice—it's essential for protecting your organization, whether you're in Atlanta, San Diego, or anywhere in between.
Why Safe Scientific Equipment Disposal Matters
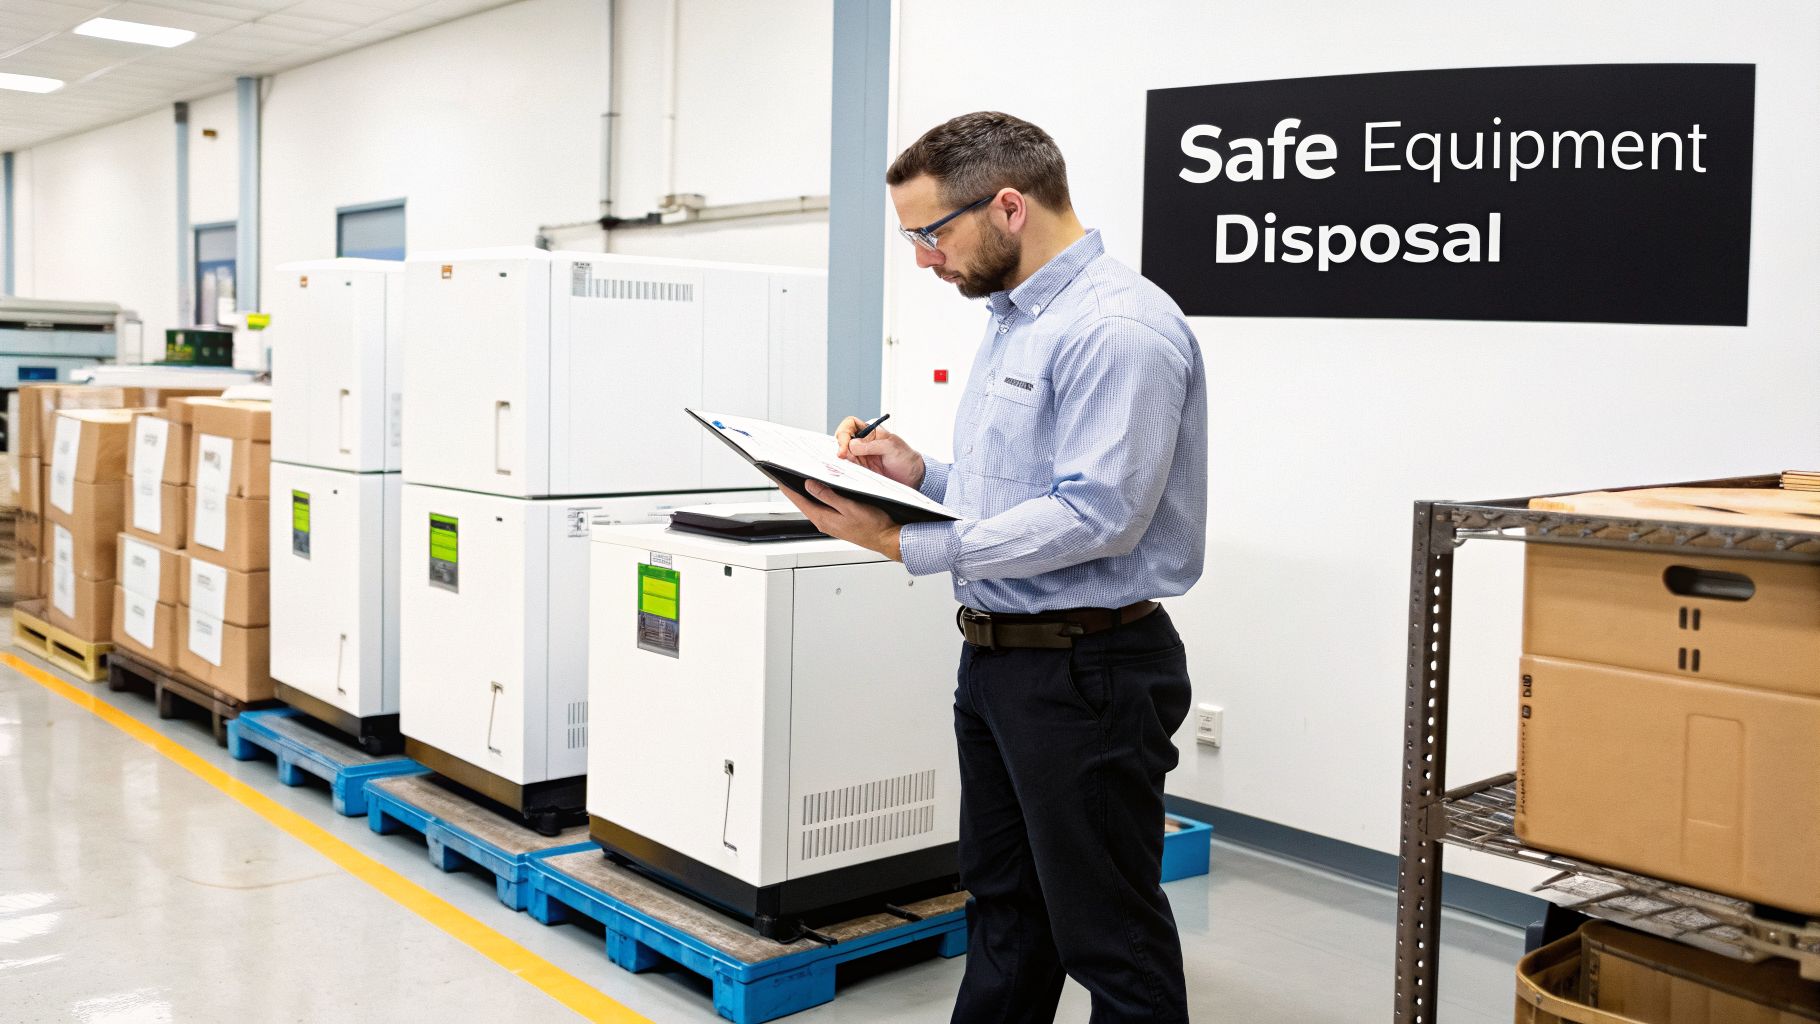
Getting this wrong isn't a small mistake; it's a major business risk. For organizations across the U.S., a single misstep can lead to crushing fines, legal trouble, and a black eye on your reputation that’s hard to fix. The regulations are strict from California to New York.
The real challenge comes from the equipment itself. Unlike a pile of old office computers, scientific instruments are a different beast entirely. They often hide a cocktail of hazards.
- Hazardous Materials: Instruments can hold onto residual biological agents, chemical traces, or even low-level radioactive materials.
- Sensitive Data: Modern lab gear, from sequencers to spectrometers, has internal hard drives. These can store priceless research data, confidential patient information, or your company's proprietary formulas.
- Environmental Contaminants: A lot of older machines contain things like mercury or lead that are flat-out illegal to just toss in a landfill anywhere in the country.
The Problem Is Only Getting Bigger
This isn’t a niche issue anymore. With global R&D funding recently blowing past $2 trillion, companies are buying new equipment faster than ever. That means older machines are becoming obsolete just as quickly, creating a nationwide disposal challenge.
This has created a whole industry dedicated to proper disposal. In North America alone, the market for lab equipment disposal is on track to hit $1,350 million by 2035.
It’s not just about being green; it’s about compliance. Tough regulations like the U.S. Resource Conservation and Recovery Act (RCRA) have sharp teeth. Fines for violations can top $50,000 per violation, per day.
Core Stages of Safe Equipment Disposal
A successful disposal project is all about careful planning and execution. It's not a "haul and dump" job. It's a structured process that protects your organization every step of the way. We've broken down the essential phases into a simple table to show you what a compliant project looks like from start to finish, for any lab in any state.
| Disposal Stage | Key Objective | Primary Risk if Mishandled |
|---|---|---|
| Assessment & Decontamination | Identify all hazards and neutralize them at the source before the equipment is moved. | Staff exposure, cross-contamination, and regulatory violations. |
| Data Sanitization | Securely wipe or physically destroy all hard drives and data-bearing media. | Data breach, intellectual property theft, and HIPAA/privacy violations. |
| Packaging & Transport | Properly package, label, and transport equipment according to DOT regulations. | Spills, public safety incidents, and transit-related fines. |
| Certified Disposal | Ensure equipment is recycled or disposed of by a certified vendor providing full documentation. | Environmental damage, fines for illegal dumping, and lack of audit trail. |
Mastering these stages—from the initial assessment to getting that final certificate of recycling—is the key. It turns a risky job into a managed process. You can see how a professional partner handles this by checking out our comprehensive scientific equipment disposal services.
Ultimately, knowing how to dispose of scientific equipment safely is a core part of risk management. It’s about protecting your people, your data, and the environment.
Cataloging Your Lab Assets for Disposal
Before you can even think about how to dispose of your scientific equipment, you need to know exactly what you have. This isn't just about a quick scan of asset tags; it’s about building a detailed catalog that will serve as your roadmap for the entire disposal project, whether you're decommissioning a single lab or an entire campus.
Think of it as your "disposal dossier" for every single piece of equipment. A solid inventory is the first step in protecting your organization from liability and is what a disposal vendor needs to give you an accurate quote and show up prepared. It’s what separates assets that might be resold from those that need certified recycling or specialized hazardous waste handling.
Differentiating Your Assets
The process starts by walking through your lab, storage rooms, and every corner of your facility. Your goal here is to capture much more than just an item name. For everything—from a huge biosafety cabinet down to a small tabletop centrifuge—you need to document the critical details.
For instance, a standard lab freezer and a -80°C ultralow freezer used for biological samples are two completely different beasts. One is likely simple metal recycling, while the other demands careful decontamination and management of specialized refrigerants. Your inventory has to capture these distinctions.
For larger projects, specialized equipment inventory software can be a lifesaver. These tools make data entry and tracking much simpler, especially when you're decommissioning an entire facility.
For each piece of equipment, make sure you record:
- Equipment Type: (e.g., Centrifuge, Spectrometer, HPLC System)
- Manufacturer and Model: (e.g., Thermo Fisher, Sorvall Legend X1)
- Serial Number: This is non-negotiable for tracking and chain-of-custody.
- Physical Condition: Note any obvious damage, missing parts, or if it's completely non-functional.
- Location: Be specific. (e.g., Building A, Room 301, Atlanta, GA Campus)
Flagging Potential Hazards
This is the most important part of your catalog. Identifying potential hazards right from the start is absolutely critical for safety and compliance. A mistake here can put staff at risk and open you up to serious regulatory fines, regardless of your state's specific laws.
That old microscope in the corner? Its bulb might contain mercury. A mass spectrometer could have vacuum pump oil that’s now considered hazardous waste. These are the kinds of details that must be flagged directly in your inventory list.
The real value of a detailed catalog comes from this hazard assessment. It transforms a simple list into a powerful risk management tool, allowing your disposal partner to plan for the necessary safety protocols, equipment, and certified downstream processors.
Here are the common hazards you need to be looking for:
- Biological: Was the equipment used with blood, tissues, bacteria, or viruses? Think biosafety cabinets, incubators, and PCR machines.
- Chemical: Did the instrument come into contact with corrosive, toxic, or reactive chemicals? This applies to fume hoods, chemical storage cabinets, and similar items.
- Radiological: Does the item contain a sealed or unsealed radioactive source? Some liquid scintillation counters and older X-ray machines fall into this category.
- Data-Bearing: Does it have a hard drive, memory card, or any internal storage? This is common in DNA sequencers, analytical instruments with user logs, and of course, connected computers.
Documenting these flags ensures every piece of equipment is handled correctly the moment it leaves your facility. You can learn more about how we approach these complex jobs in our guide to scientific equipment removal for labs and universities. This systematic approach guarantees nothing gets overlooked during a lab cleanout anywhere in the USA.
Executing Proper Decontamination and Data Sanitization
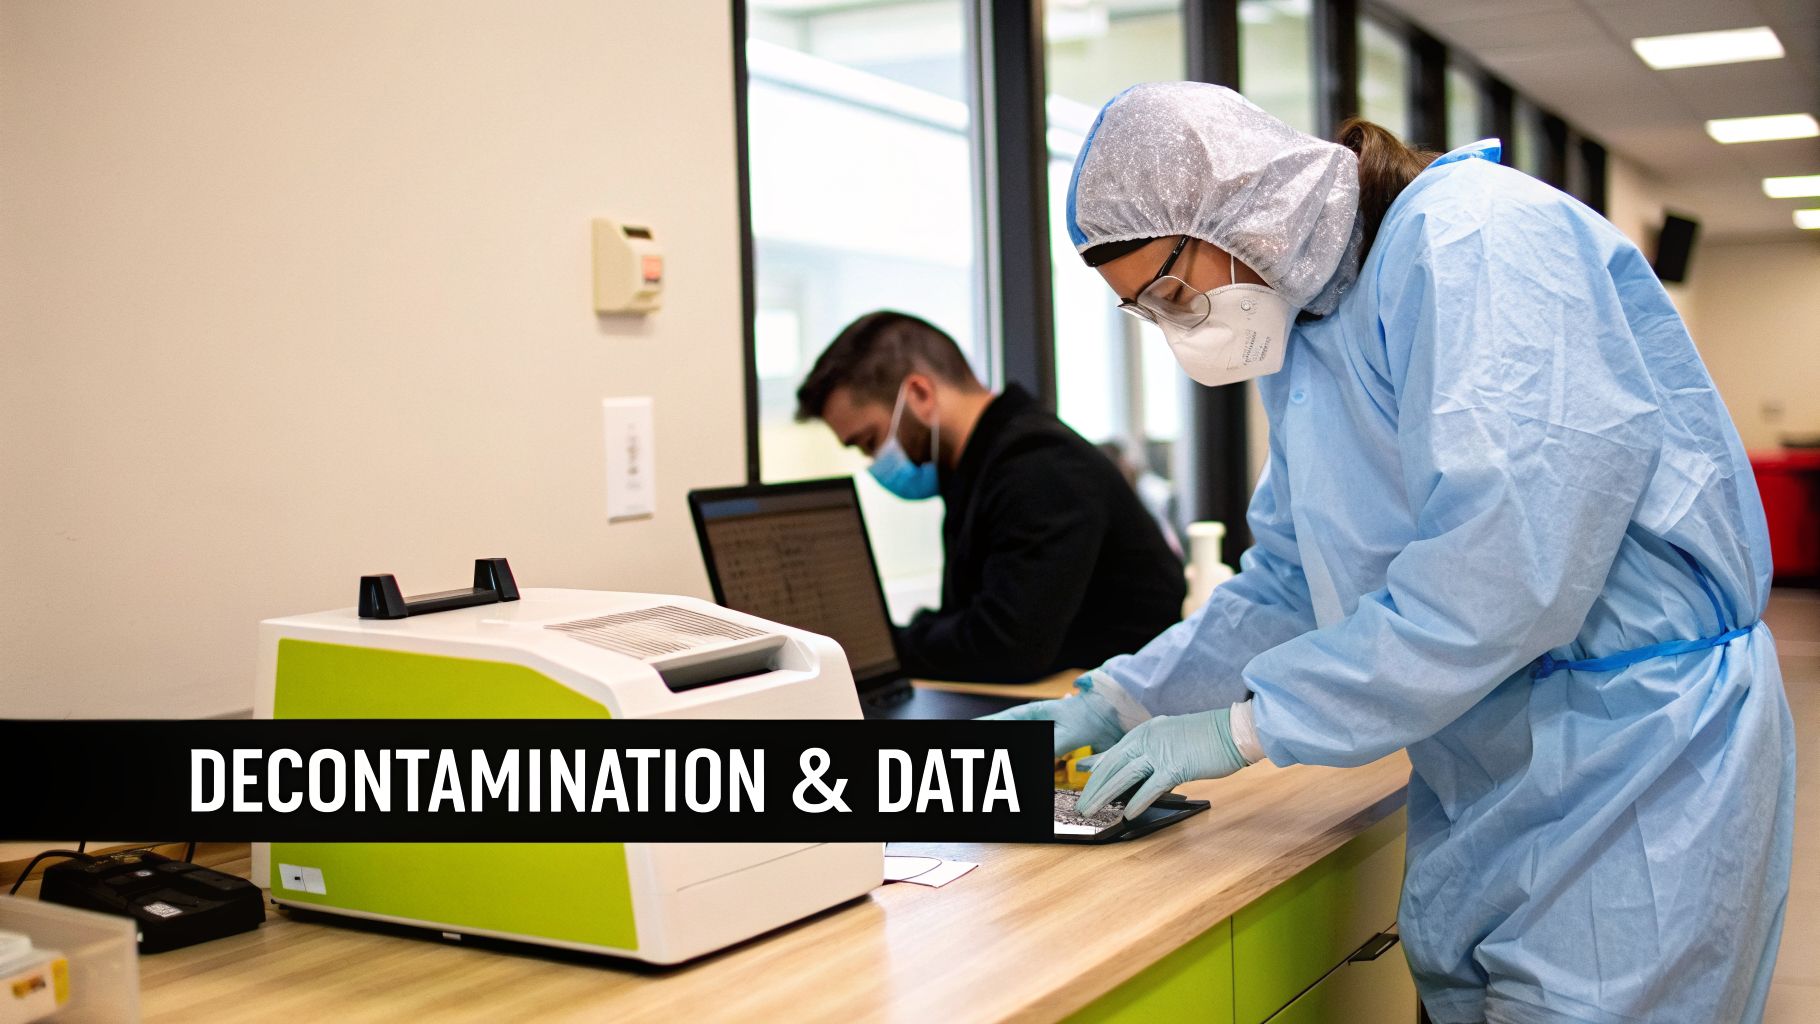
Once you've got your equipment inventory sorted, it's time for the most important part of the job: making every piece safe to handle. This isn't just a suggestion—it's a non-negotiable step to protect your team, the public, and your disposal vendor from what’s lurking inside.
This is where you tackle both the physical gunk and the digital ghosts. Getting either one wrong can lead to huge headaches, from steep regulatory fines to a data breach you can't undo.
Navigating Decontamination Protocols
Decontamination isn't a one-and-done task. The right way to clean a machine depends entirely on what it was used for. A simple shaker might just need a good wipe-down, but a biosafety cabinet? That requires a much more intensive, certified process.
The scale of this task is massive. Labs are churning through equipment faster than ever, with the global market for lab gear and disposables expected to hit $40.5 billion. Just in the U.S., healthcare facilities retired over 500,000 lab units in a single year, many of them packed with biohazards or sensitive electronics.
Regulators are watching closely. For instance, OSHA's 29 CFR 1910.1030 bloodborne pathogens standard now requires certified decontamination for specific items. Failing to follow these rules can bring serious penalties.
Here’s a practical breakdown for the three main hazard types:
Biological Contamination: For any equipment that came into contact with blood, tissue, or microorganisms (think PCR machines, incubators, or centrifuges), you need a validated disinfection process. This usually means a 10% bleach solution or an EPA-registered tuberculocidal disinfectant. For high-risk gear like biosafety cabinets, you'll need a certified technician to perform a formal gas decontamination, often with formaldehyde or hydrogen peroxide vapor.
Chemical Contamination: If an instrument like an HPLC system or fume hood handled hazardous chemicals, it needs a thorough cleaning to get rid of any residue. The first thing you should do is check the Safety Data Sheet (SDS) for the specific chemicals involved. It will tell you the right cleaning agent to use and what Personal Protective Equipment (PPE) is needed.
Radiological Contamination: Any equipment with radioactive sources falls under the responsibility of your organization's Radiation Safety Officer (RSO). The RSO must perform a wipe test and survey the equipment to confirm it's clean before it can be released for disposal.
The goal is simple: make the equipment safe enough for someone to handle without wearing full PPE. If you're ever in doubt, it's always better to over-communicate potential hazards to your disposal vendor. Always provide a signed certificate of decontamination. Our guide on the sterilization of equipments digs deeper into these crucial steps.
Ensuring Total Data Destruction
While you’re cleaning the outside, don't forget about what's stored inside. Modern scientific instruments are essentially specialized computers. Their hard drives and memory cards often hold much more than just operational data—we're talking patient records, proprietary research, and even network access credentials.
Hitting "delete" isn't going to cut it. You have to make sure that data is gone for good by following established industry standards.
NIST 800-88 Guidelines for Media Sanitization
The National Institute of Standards and Technology (NIST) Special Publication 800-88 is the bible for secure data destruction. It gives you three main options:
Clear: This is a software-based method that overwrites the data on a drive. It’s okay if you plan to resell the equipment, but it won’t stop a determined expert from recovering the information.
Purge: This is a much stronger approach. It uses techniques like degaussing (for magnetic drives) or cryptographic erasure to make data recovery practically impossible. For any sensitive data, this should be your minimum standard.
Destroy: This is the most secure method, hands down. Physical destruction—shredding, pulverizing, or disintegrating the media—leaves nothing behind to recover. This is the only acceptable option for classified or extremely sensitive information.
For most labs we work with, from local clinics to national research institutions, a mix of purging and destroying is the safest path forward. A professional disposal partner should offer DoD-compliant multi-pass wiping for drives that still work and physical shredding for anything that’s old, broken, or held top-secret data.
Managing Secure Logistics and Chain of Custody
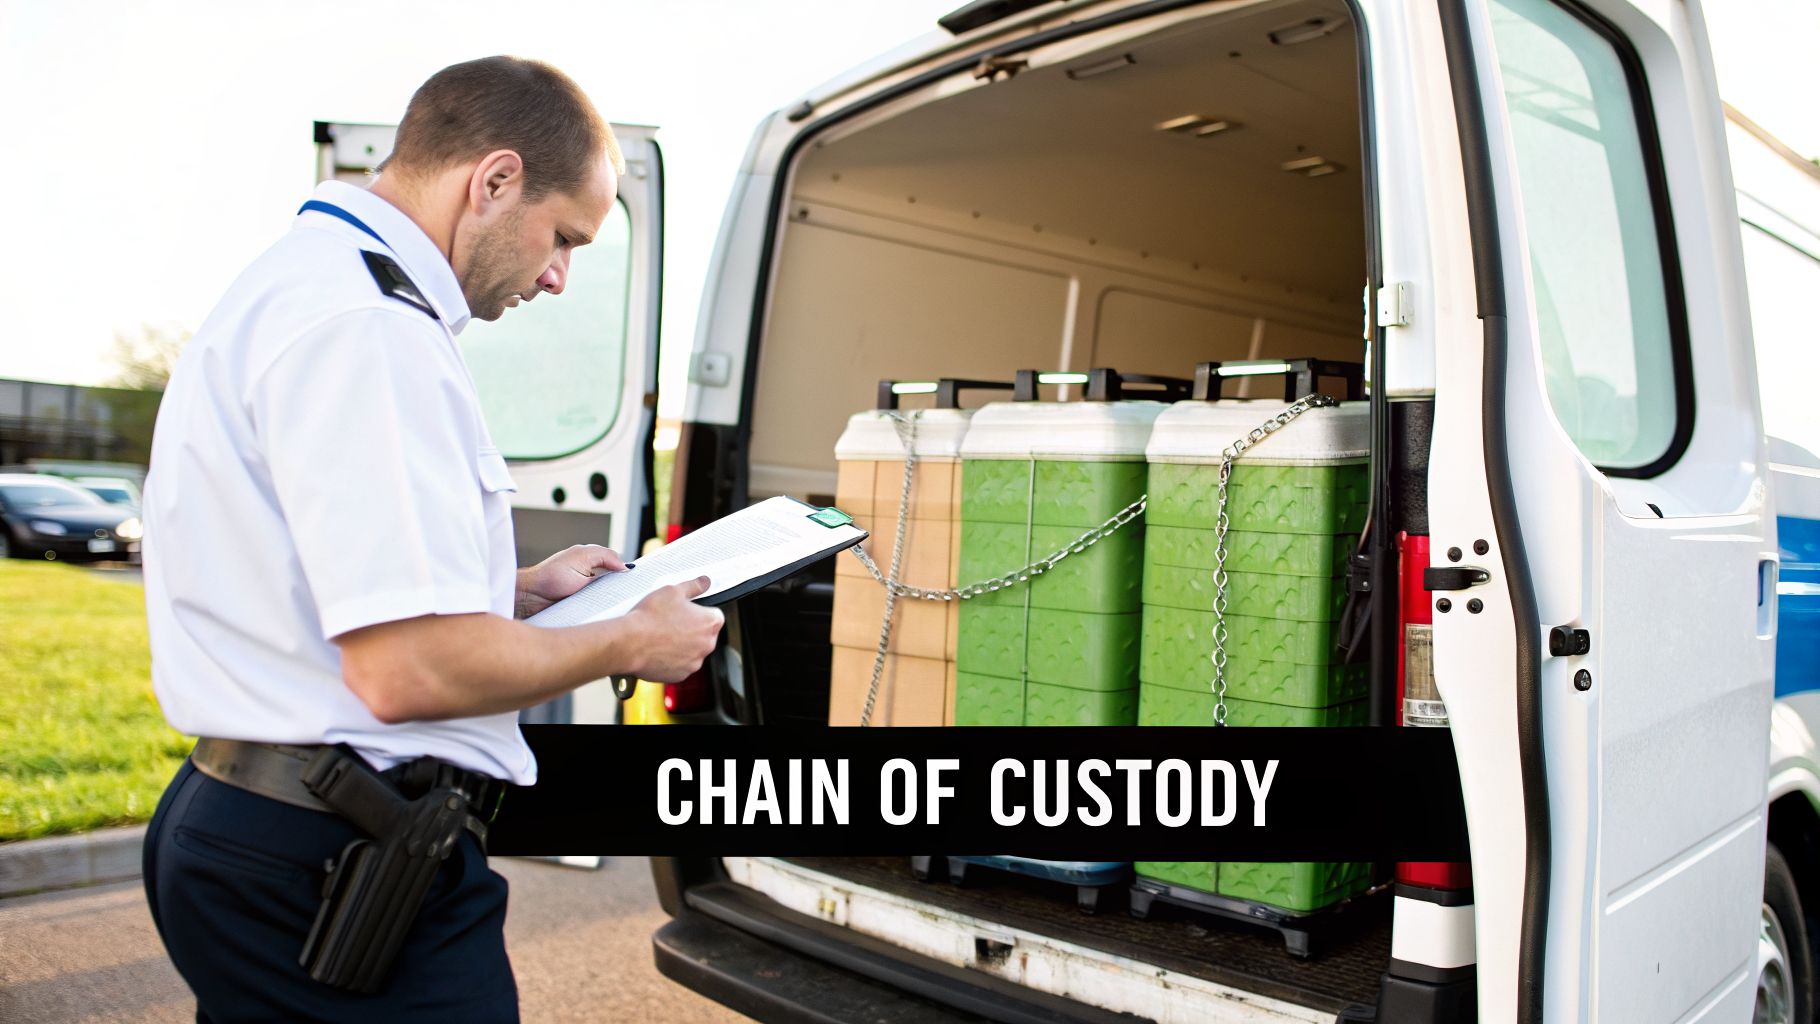
So, you’ve decontaminated the equipment and wiped every last bit of data. Now comes a step that’s just as critical: getting it off your property securely. This is where secure logistics and a rock-solid chain of custody come into play.
This isn’t about calling a standard freight company. When you’re disposing of sensitive lab assets, you have to account for every moment—from the second an item leaves your lab until you get that final destruction certificate in your hand.
Why Professional Transport Matters
Using a disposal partner with its own dedicated fleet, which can provide service nationwide, is a game-changer. It completely sidesteps the risks of using third-party logistics companies who just aren’t familiar with handling sensitive scientific equipment.
A professional team shows up with the right gear—dollies, pallet jacks, and protective wrap—and, more importantly, the expertise to move heavy, awkward instruments without causing damage or creating a spill hazard.
The moment your equipment leaves your control, your liability doesn't end. A strong chain of custody is your only verifiable proof of compliant disposal, creating an auditable trail that protects your organization from future claims or regulatory scrutiny.
That level of control is something a general freight carrier simply can't promise. It’s an essential part of any serious risk management strategy.
Best Practices for Packing and Transit
Proper packing is your first line of defense against something going wrong on the road. A delicate and heavy instrument like a mass spectrometer can’t just be rolled onto a truck; it needs careful prep work.
- Secure All Moving Parts: Make sure any internal components, like a spectrometer’s robotic arm or a centrifuge rotor, are locked down or removed.
- Drain and Seal Fluids: Completely drain any remaining liquids, like pump oil or coolants, and seal all the ports to prevent leaks.
- Use Protective Cushioning: Wrap sensitive equipment in heavy-duty padding and shrink-wrap it securely to a pallet. This stops it from shifting around during transport.
These aren't just suggestions. They are crucial steps for safety and for preserving the equipment's integrity, especially if parts are being salvaged for refurbishment or resale.
The e-waste crisis from labs is a massive problem, with global volumes projected to hit 62 million metric tons. For organizations in major hubs like Atlanta, Boston, or San Francisco, the local impact is huge. We've seen HIPAA violations from unsecured drives skyrocket, with average fines reaching $1.5 million. Certified disposal flips this script. Professional services can recycle 85-95% of components while ensuring you remain fully compliant.
The Critical Role of Chain-of-Custody Documentation
Your chain-of-custody documentation is the paper trail that proves you followed every rule. Think of it not as a simple receipt, but as a series of legal documents tracking each asset from your door to its final disposition.
Your disposal partner absolutely must provide a comprehensive documentation package. Here’s what it should include:
- Serialized Inventory List: A detailed manifest of every single item being removed, with serial numbers recorded for all data-bearing devices.
- Transfer Receipts: Signed documents that acknowledge every time the assets change hands, from your facility manager to the transport team and beyond.
- Certificate of Destruction/Recycling: This is the final, and most important, document. It’s your official certification that your equipment was properly recycled and that any data was destroyed according to specified standards.
This final certificate is your ultimate proof of due diligence. You can view an example of what this critical document looks like to better understand its importance.
Choosing a Certified Disposal Partner
You’ve carefully decontaminated and sanitized your equipment. Now comes the single most important decision you'll make in this entire process: choosing your disposal partner.
This is where everything comes together. The right partner ensures your project is compliant, secure, and successful from start to finish. The wrong one? They can expose your organization to staggering financial penalties and legal nightmares. It's a choice you have to get right.
This is the point where you stop managing old equipment and start vetting a critical service provider. Whether you're a hospital in Georgia, a biotech startup in California, or a research institution with labs across the country, the core criteria are the same. You need a company that can prove its commitment to environmental stewardship, ironclad data security, and unwavering regulatory compliance.
The Gold Standard of Certifications
When you're trying to figure out how to dispose of scientific equipment safely, certifications are your first and most reliable filter. Think of them as independent, third-party audits that prove a company walks the talk. Don't just take a vendor's word for it—ask for their certification numbers and verify them yourself.
In the world of IT and electronics disposition, two certifications stand head and shoulders above the rest:
R2 (Responsible Recycling): This is the big one. It's a comprehensive standard covering everything from environmental protection and worker safety to data security and downstream tracking. An R2-certified vendor is held to a strict hierarchy: reuse first, then refurbish, and only then recycle.
e-Stewards: Developed by the Basel Action Network, this certification is famous for its rigorous standards. Its most critical rule is an absolute ban on exporting hazardous e-waste to developing nations. It's your guarantee that your equipment won't become part of an environmental or health crisis overseas.
A vendor holding both R2 and e-Stewards certifications offers the highest possible level of assurance. This dual certification shows a deep, verifiable commitment not just to secure recycling, but to global environmental ethics.
For many organizations we work with, especially in healthcare and government, using a certified partner isn't just a good idea—it's a non-negotiable contractual requirement.
Key Questions for Potential Vendors
Once you've shortlisted vendors with the right certifications, it’s time to dig a little deeper. How they answer these questions will tell you everything you need to know about their capabilities and transparency.
Do you operate your own fleet for logistics? A partner with its own branded trucks and trained, badged personnel provides a level of security that a third-party freight carrier simply can't match. This is especially vital for sensitive local pickups.
Can I audit your facility? A reputable vendor will not only say yes, they'll welcome it. A site visit is your chance to see their security protocols, sorting lines, and dismantling operations with your own eyes. If they hesitate, that's a major red flag.
What does your downstream process look like? Ask them where every component goes after it leaves their plant. A certified vendor is required to provide a transparent map of their downstream partners, ensuring every last piece is handled by another audited, compliant processor.
What are your specific data destruction methods? Don't accept vague answers. Do they offer DoD 5220.22-M 3-pass wiping? Do they provide on-site or off-site shredding? Crucially, can they provide a serialized report for every single hard drive they destroy?
Can I see your insurance certificates? Ask about their general liability, pollution liability, and errors & omissions policies. This coverage is what protects your organization in the rare event that something goes wrong.
Finding a great partner is much easier when you know what to look for. You can learn more about what sets a top-tier service apart by reading our guide to choosing a professional e-waste recycling company.
Vendor Selection Checklist
Putting potential partners side-by-side in a direct comparison is the clearest way to make a final decision. We recommend using a simple checklist to evaluate them based on the criteria that matter most to your organization. This approach cuts through the sales pitches and helps you choose a vendor that truly aligns with your security and compliance needs.
Use this table to compare potential scientific equipment disposal vendors and make an informed choice.
| Evaluation Criteria | Vendor A | Vendor B | Ideal Standard (e.g., S.E.D.) |
|---|---|---|---|
| Certifications | R2 Only | Uncertified | R2 and/or e-Stewards Certified |
| Data Destruction | Wiping only | Unverified methods | DoD-Compliant Wiping & Physical Shredding |
| Logistics | Third-Party Freight | Owns one van | Dedicated Fleet, Trained Staff |
| Chain of Custody | Basic receipt | No documentation | Serialized Reporting & Destruction Certificate |
| Insurance | Standard GL | Minimal coverage | Comprehensive Pollution & E&O Policies |
| On-Site Services | Pickup only | No | De-installation, Packing & Removal |
This structured comparison makes it obvious which partner has the infrastructure and processes to protect your organization.
Your Lab Equipment Disposal Action Plan
Turning the often-messy job of lab equipment disposal into a straightforward project is all about having a solid game plan. We've put together a practical checklist that walks you through every critical stage, consolidating everything we've covered.
Use this to guide your team during your next lab cleanout or facility decommissioning. It's designed to make sure nothing gets missed, whether you're a local Atlanta lab or a nationwide research firm. Think of it as your internal roadmap and your compliance record, all in one.
The Pre-Disposal Phase: What to Do Before the Pickup
Before you even think about calling a disposal vendor, there's some essential groundwork to cover. Getting this stage right is the key to a smooth and compliant project down the line.
- Build a Detailed Inventory: You need to catalog every single piece of equipment you're getting rid of. Log the type, make, model, serial number, and a quick note on its physical condition.
- Identify and Flag Hazards: This is non-negotiable. Pinpoint any equipment that came into contact with biological, chemical, or radiological materials. This is a crucial safety step.
- Isolate Anything with a Hard Drive: Flag all items with hard drives or any form of internal memory. Keep a separate list of these assets so you can track their data sanitization.
- Decontaminate and Document: Your EHS team needs to decontaminate all hazardous equipment according to your internal protocols. Once an item is clean, attach a signed Certificate of Decontamination directly to it.
The Main Event: Vendor Selection and Execution
With all your assets prepped and accounted for, it's time to bring in the right partner and manage the physical removal.
The infographic below breaks down how to choose a qualified disposal partner into three simple steps.
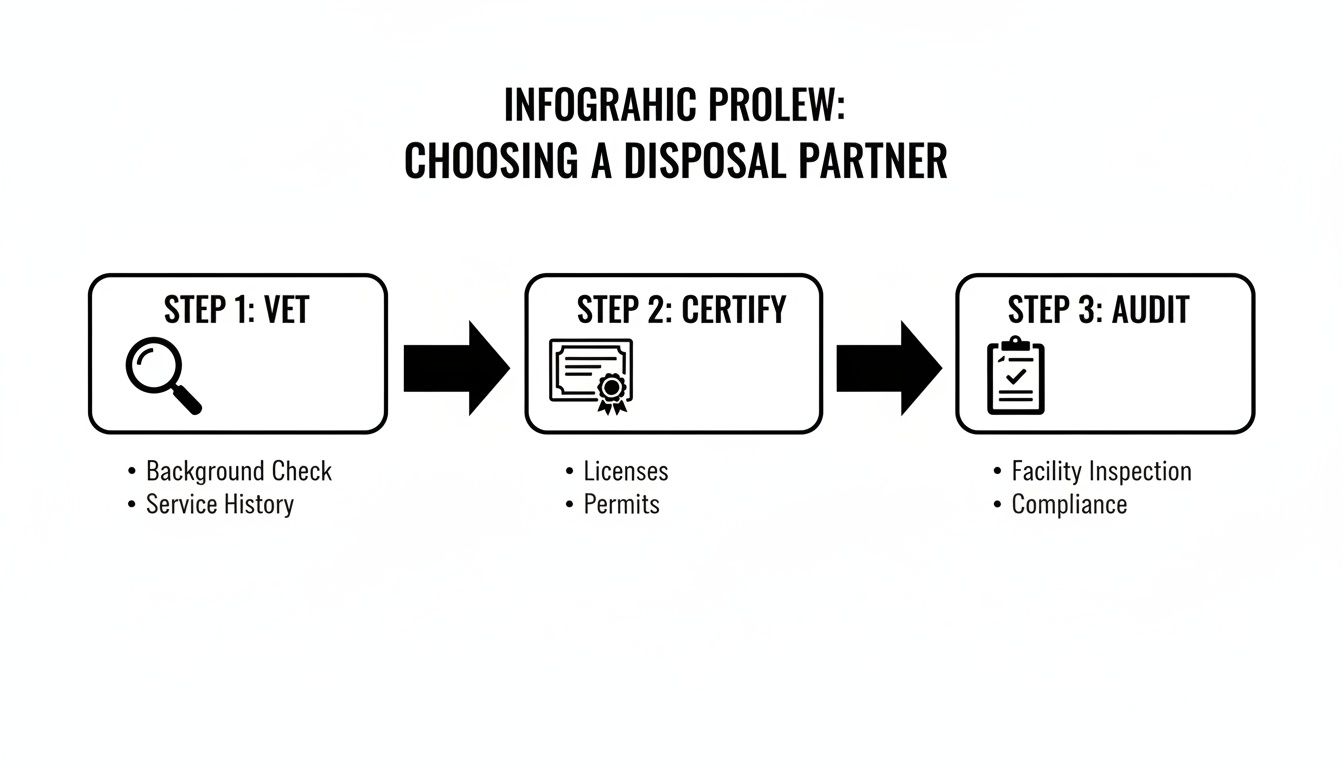
This Vet, Certify, and Audit process is your best bet for ensuring a vendor meets the highest standards for both compliance and security.
- Verify Vendor Certifications: Your first question should be about their certifications. Make sure your chosen partner holds current R2 and/or e-Stewards certifications. This is your primary guarantee that they handle recycling responsibly.
- Confirm Logistics and On-Site Services: Walk through the plan for de-installation, packing, and removal. Does their team have the training to handle your specific, and often delicate, equipment?
- Supervise the Pickup: Be there when the disposal team is on-site. Have your inventory list handy and match it against every item being loaded onto the truck. Don't let them leave without signing the initial transfer of custody form.
Remember, the goal is a seamless handover. The effort you put into the pre-disposal phase directly impacts how smoothly and safely the on-site removal goes. A detailed inventory prevents any last-minute confusion and ensures an accurate chain of custody from the very start.
The Final Step: Post-Disposal Documentation
Your work isn't over just because the truck has pulled away. This final phase is all about verification and record-keeping. This is what provides your legal proof of compliant disposal, so don't skip it.
- Track Your Assets: A few days after pickup, follow up with your vendor to confirm the assets have arrived safely at their processing facility.
- Get Serialized Reports: For every single device that had a hard drive, you need a serialized report. This document will confirm the date and method of data destruction, whether it was wiped or physically shredded.
- Obtain Final Certificates: This is the most important document you'll receive. The final Certificate of Destruction and Recycling is what officially closes the loop on your project and proves you did everything by the book.
- Archive Everything: Gather all your paperwork—from your initial inventory list to the final certificates—and file it somewhere secure. You'll need it if an auditor ever comes knocking.
Common Questions We Hear About Equipment Disposal
When it comes to getting rid of old lab assets, a lot of questions come up. We hear them every day from facilities in Atlanta and all over the country. Getting it wrong is risky, so here are some straight answers to the most common things we get asked.
What's the Biggest Mistake You See Labs Making?
Hands down, the biggest and most expensive mistake is treating sophisticated scientific instruments like they're just old office computers or regular e-waste. It's a simple oversight with huge consequences.
When you do that, you miss the two most critical steps: documented decontamination and certified data destruction. Failing to prove you've dealt with leftover chemicals, biological traces, or sensitive data can get you hit with massive fines from the EPA or HHS. Honestly, the damage to your reputation from a data breach or an environmental issue is often worse than the financial penalties.
Can We Just Handle This In-House to Save Some Money?
Trying a DIY disposal might look like it saves money on an invoice, but what it really does is transfer 100% of the liability right back to your organization. You're on the hook for everything.
Without the proper R2 or e-Stewards certifications for recycling, specialized logistics for transport, and audited data destruction processes, your organization has zero protection if something goes wrong.
Think about it this way: one hard drive that wasn't properly wiped or a small chemical residue spill during transport can trigger cleanup costs and regulatory fines that will dwarf what you would have paid a professional, insured service for a complete, auditable chain of custody.
How Can I Tell if My Equipment Has Hazardous Materials?
The best place to start is the manufacturer’s original manual or the Safety Data Sheet (SDS) for that specific piece of equipment. You're looking for any mention of regulated substances.
Common culprits include:
- Heavy metals like mercury and lead, especially in older devices, sensors, and lamps.
- Refrigerants like CFCs, which are common in lab freezers and cooling systems.
- PCBs (polychlorinated biphenyls) in very old electrical equipment like transformers.
- Radioactive sources that are sometimes used in specific types of analytical instruments.
If you can't find the documentation or you're just not sure, the safest bet is to assume it's hazardous until proven otherwise. A good disposal partner can help you identify and classify these materials during an on-site assessment, making sure every item is handled correctly.
What Kind of Paperwork Should I Get From a Disposal Vendor?
Don't let anyone walk out the door with your assets without a clear plan for documentation. A reputable vendor will give you a solid paper trail that acts as your legal proof of proper disposal.
At a bare minimum, you need to walk away with:
- A complete chain-of-custody record that includes a serialized inventory of every single asset.
- A Certificate of Destruction for every device that held data, detailing the method used (e.g., DoD-compliant wiping or physical shredding).
- A final Certificate of Recycling that confirms all materials were processed according to federal and state environmental laws.
This documentation is your ultimate shield against any future liability claims.
Navigating these challenges is much simpler when you have an experienced partner on your side. Scientific Equipment Disposal offers comprehensive, compliant solutions for labs and businesses in the Atlanta area and across the nation.
To start building a secure and sustainable disposal plan, learn more at our website: https://www.scientificequipmentdisposal.com.